Opal Adventures
Recently I took a class at the William Holland School of Lapidary Arts. My class was in opal cutting, and it is an understatement to say I ABSOLUTELY LOVED IT!
With the class, you paid for an opal kit (pieces of several different types of rough opal, both precious and non-precious) and you could also bring along opal of your own if you had it.
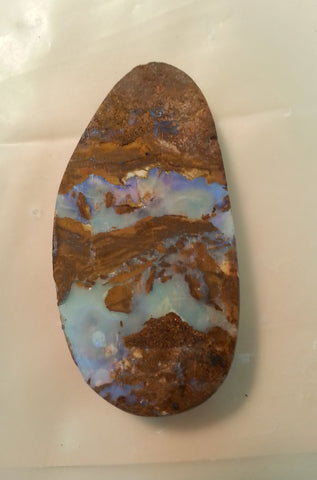
For about 10 years (yes, a whole decade!) I have had this piece of Australian boulder opal. I had never set it, because it was such a big, odd shape, and the back wasn't flat (so it rocked in place.) I'm told that type of 'saddleback' is a common cutting technique used to increase the weight, and therefore price, of finished opals. I brought this piece of opal with me to class in hopes of flattening the back and making the opal usable for my purposes. After I flattened the back, this is what it looked like from the front and back:

It occurred to me that the back was SO MUCH PRETTIER than the front, so I decided to take drastic measures.
First I cut the opal into 2 pieces, and then I made the shapes more pleasing:


Next I added dop sticks to the back (speaking of which, I think I dreamed about dop sticks last night?) and ground and polished the opals with their new front sides:


Skip forward and I am back in my studio with my finished opals. And I had a mission to finally set these 2 opals and make them into jewelry! So, I'm making my bezels in the next picture:

Skip forward a bit, and here I am assembling the chain as I make it, notice my fingers are filthy from polishing!!


Skip forward even more, and here we have it! Just in time for my next art show in Tampa on 10/26-10-/27.


